
personalized travel mug with photo
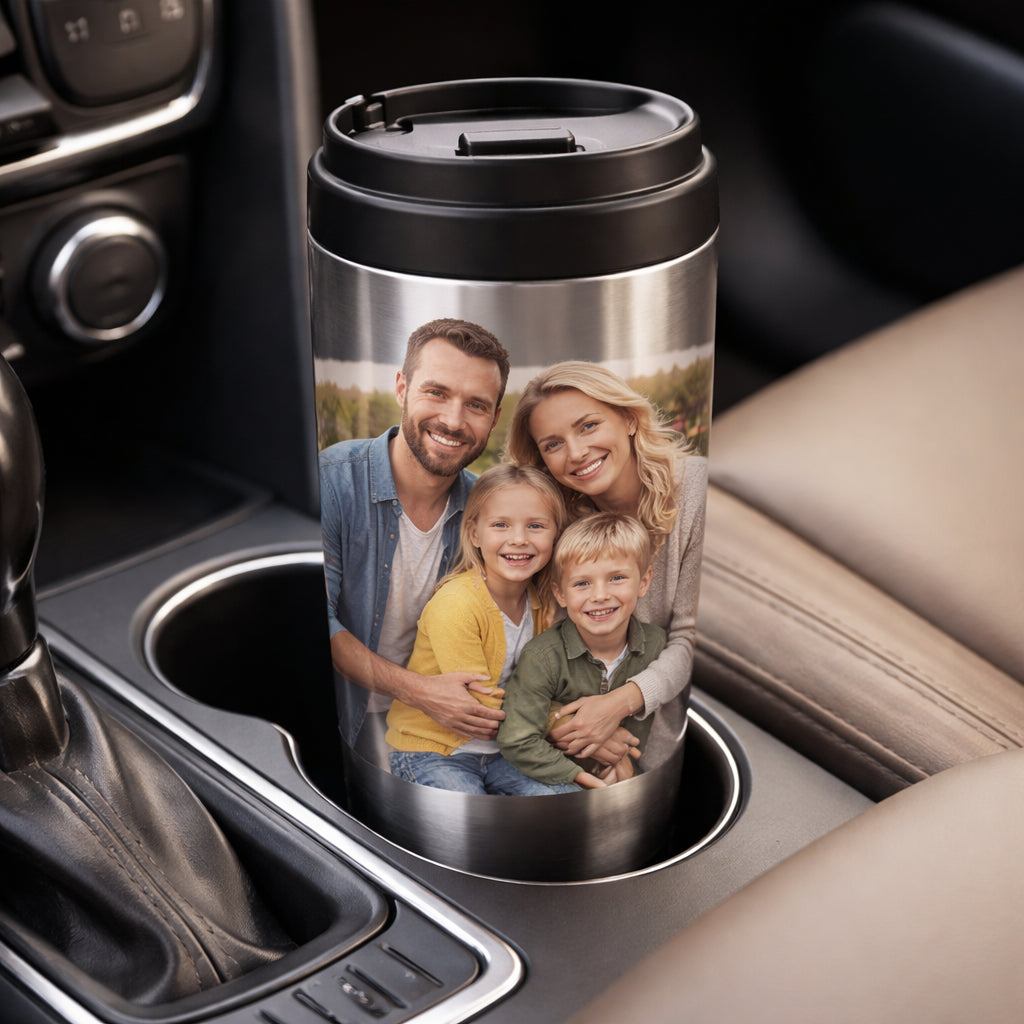
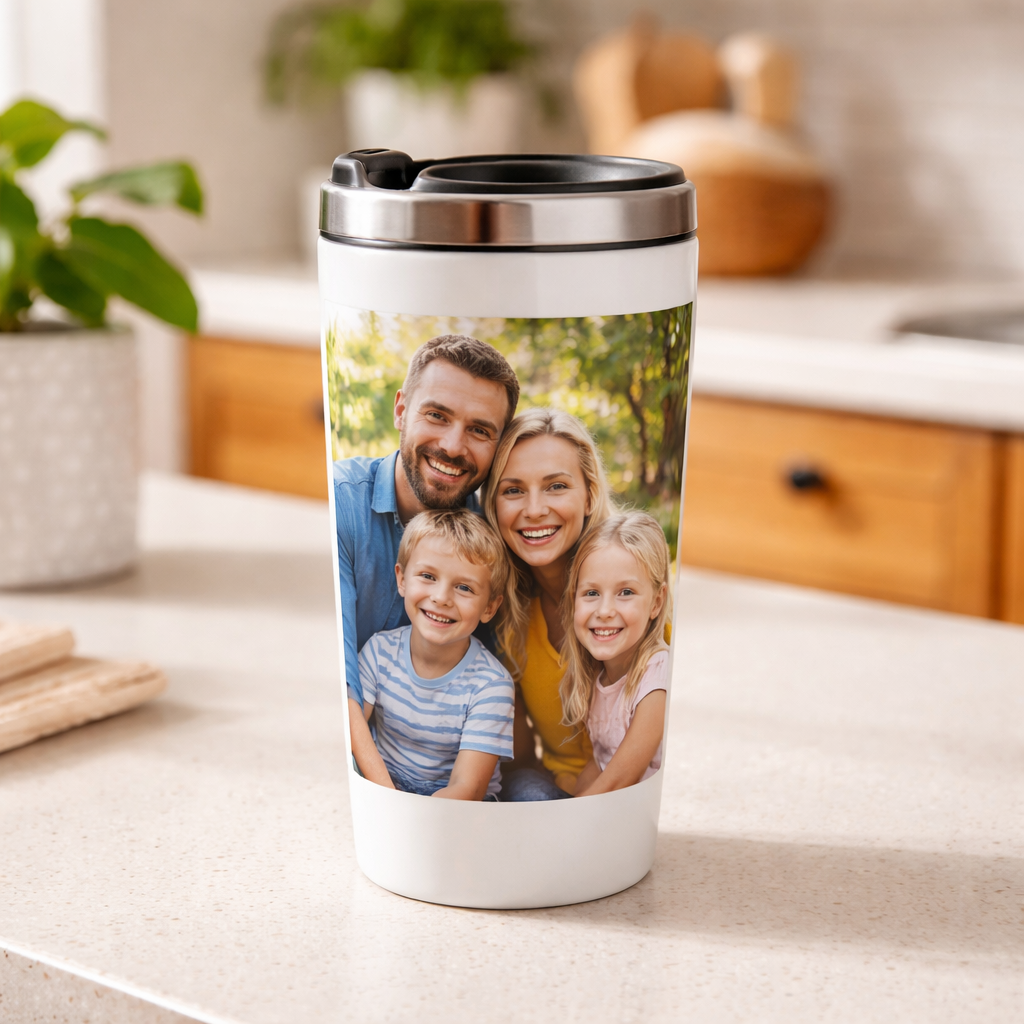
Imagine you’re on a morning commute, the coffee shop line is long, and you’re holding a plain white mug that says nothing about you. Then you pull out a personalized travel mug with photo of your dog, your kid’s drawing, or a beach sunset. You sip, you smile, you feel a tiny boost of joy. That little boost is why a personalized travel mug with photo matters. It’s not just a cup – it’s a memory you can hold while you hustle.
In this guide we’ll walk you through every step to design, order, and care for a perfect personalized travel mug with photo. We’ll break down the choices, show you tools, and share tips that work for moms, dads, teachers, and nurses alike. By the end you’ll know exactly how to turn a simple photo into a daily companion you’ll love.
Let’s say you want a mug for Mom’s birthday. She loves coffee, she’s always on the go, and she has a favorite family photo from last summer’s picnic. With a few clicks you can put that pic on a sturdy mug that keeps her drink hot on the train. That’s the power of a personalized travel mug with photo – a gift that feels personal, useful, and lasting.
Step 1: Choose the Right Travel Mug
First thing you need is a mug that fits the job. Not every mug works the same. A good mug should keep drinks at the right temperature, fit in a car cup holder, and stand up to daily drops.
Most travel mugs are made of stainless steel, plastic, bamboo, or ceramic. Stainless steel is the toughest. It’s double‑walled, so it stays hot or cold for hours. Plastic mugs are lighter and cheaper, but they lose heat faster. Bamboo looks cool and is eco‑friendly, yet it can get warm on the outside. Ceramic feels nice to sip from, but it can chip if you drop it.
Here’s a quick comparison:
- Stainless steel – best for heat retention, very durable.
- Plastic – budget‑friendly, decent for short trips.
- Bamboo – sustainable, good for short drinks, may get hot.
- Ceramic – great taste, fragile, moderate heat hold.
Think about how you’ll use the mug. If you drive a lot, a tapered base that fits cup holders is key. If you’re a teacher who carries a mug to the staff lounge, a sturdy stainless steel mug will survive the occasional bump.
Many vendors let you print on both sides of the mug. That means you can put a photo on one side and a short quote on the other. Double‑sided printing adds a personal touch without extra cost.
For more details on materials, check out best material for travel mugs. And learn why custom travel mugs are a smart choice for busy mornings at personalized travel mugs.
Pro tip: Choose a size between 12 oz and 20 oz. 12 oz fits most cup holders, while 20 oz holds more coffee for longer rides.
Imagine a nurse on a 12‑hour shift. A 20 oz insulated mug keeps her tea warm through the night, and the photo of her family reminds her why she works hard.

When you pick the right mug, you set the stage for a lasting, daily reminder of what matters.
Step 2: Select and Prepare Your Photo
The photo you choose will be the star of your personalized travel mug with photo. Pick a picture that looks clear, has good lighting, and shows the subject well.
If the photo is too dark, the print will look dull. If it’s blurry, the mug will look fuzzy. Use a simple editing app to adjust brightness and crop to a square or rectangle that matches the mug’s printable area.
Here’s how to prep the image:
- Open the photo in a free editor like GIMP or an online tool.
- Resize the image to at least 1500 × 1500 pixels. This keeps detail sharp.
- Crop to the shape you want – most mugs print a 4 × 5 inch rectangle.
- Save as a JPEG with 80‑90 % quality to keep file size low.
Tip: If you want a collage, pick 3‑4 photos that share a theme, like a summer vacation. Many design tools let you drag and drop them into a template.
When you upload the photo, double‑check the preview. Make sure no important part is cut off at the edges. Some sites let you add a thin border to protect the image from trimming.
For a quick visual guide, watch this short video that walks through uploading and positioning a photo:
Pro tip: Use a photo taken in natural light for the best color accuracy. Avoid flash‑lit pictures that may look too harsh.
Imagine a dad who wants a mug with his kids’ first day of school picture. He crops the photo so the kids’ faces sit in the middle, then adds a short “First Day” caption underneath. The result is a mug that brings a tear of joy each morning.
Step 3: Design Your Mug Using an Online Tool
Now it’s time to bring the photo to life on the mug. Most print‑on‑demand sites have a simple design canvas where you can drop your picture, add text, and see a live mock‑up.
Start by selecting the mug style you chose in Step 1. Then follow these steps:
- Upload your prepared photo.
- Choose a layout – single photo, split screen, or collage.
- Pick a font for any text. Keep it readable; sans‑serif works best on small surfaces.
- Adjust the photo size and position using drag handles.
- Preview the design on a 3‑D model if the tool offers it.
- Save the design or add it to your cart.
Here’s a quick comparison of three popular design tools:
| Tool | Free Version | Collage Support | 3‑D Preview |
|---|---|---|---|
| Canva | Yes | Yes | Yes |
| Printful Designer | Yes | No | Yes |
| Placeit | Limited | Yes | No |
Pick the tool that matches your comfort level. If you’re new, Canva’s drag‑and‑drop UI feels friendly. If you need a fast preview, Printful’s 3‑D view shows exactly how the photo wraps around the mug.
Make sure the text contrast stands out. Dark text on a light photo works, and vice versa. Avoid busy backgrounds that hide the words.
When you’re happy, click “Add to cart.” The site will ask you to confirm the size, material, and any extra options like a lid type.
Pro tip: Order a single sample before you buy a batch. That way you can see the print quality and feel the mug before you gift dozens.
Imagine a teacher who designs a mug with a class photo and the phrase “Best Class Ever.” She uses Canva’s collage template, adds a bold font, and previews it on the 3‑D model. The final product looks polished, and the students love it.
For more ideas on creating eye‑catching designs, you can explore Everything You Need to Know About Custom Floral Mug Print on Demand.
Step 4: Order, Receive, and Care for Your Mug
Ordering a personalized travel mug with photo is simple once the design is ready. Most sites ask for payment, then give an estimated shipping window.
Here’s what typically happens:
- You click “Place order.”
- The site prints your photo onto a premium ceramic mug.
- Production takes 1‑2 days, then the mug is shipped.
- You receive the mug in a padded box, usually within 2‑8 days.
The quality of the print matters. Look for “pin‑sharp definition” and “vibrant colors” in the product description. CanvasDiscount notes that their custom mugs use premium ceramic and deliver sharp prints backed by thousands of reviews.
When the mug arrives, inspect the print. If the image is off‑center, contact customer support right away. Most sellers have a quick replacement policy.
Care tips to keep your personalized travel mug with photo looking fresh:
- Hand wash with mild soap. Avoid harsh scouring pads that can wear the print.
- Do not microwave unless the mug is labeled microwave‑safe.
- Do not put the mug in the dishwasher unless the manufacturer says it’s safe.
- Keep the lid clean; a dirty lid can stain the rim.
- Store the mug upright to protect the photo from scratches.
For a deeper look at the printing process and shipping times, see custom photo mugs and the same site’s guide on personalized coffee mugs.
Pro tip: If you love the magic‑mug effect (photo appears only when hot), order the heat‑sensitive version. It adds a fun surprise for the recipient.
Imagine a nurse who orders a batch of magic mugs for her department. Each mug shows a calm ocean scene that only appears when a hot drink is poured. The nurses get a moment of peace during a tough shift.
By following these steps, you’ll have a mug that not only looks great but also lasts through daily use.
Conclusion
Creating a personalized travel mug with photo doesn’t have to feel hard. Pick a sturdy mug, choose a clear photo, use a simple design tool, and order from a trusted printer. Then care for it right and you’ll get a daily reminder of a happy moment.
Remember the key points: material matters, photo quality matters, and a quick preview saves mistakes. A well‑chosen mug can be a gift for Mom, a morale boost for a nurse, or a fun keepsake for a teacher.
If you’re ready to make your own, head to a print‑on‑demand shop, follow the steps, and enjoy the smile that comes with each sip.
FAQ
What size travel mug works best for a personalized photo?
A 12 oz to 16 oz mug is ideal for most car cup holders and fits a clear photo area without looking crowded. Larger mugs (18‑20 oz) hold more drink but can make the image look smaller. Choose the size that matches your daily routine and the amount of detail you want in the photo.
Can I use a black‑and‑white photo on a personalized travel mug with photo?
Yes, black‑and‑white images work well, especially on stainless steel mugs that show contrast nicely. Just make sure the image has good contrast so the details don’t blend together. Adjust brightness in a simple editor before uploading.
Is the personalized travel mug with photo dishwasher safe?
Most ceramic mugs are safe for the top rack of a dishwasher, but the printed side can wear over time. Hand washing with a soft sponge is safest. Check the seller’s care instructions; some stainless steel mugs are fully dishwasher safe.
How long does it take to receive a custom photo mug?
Production usually takes 1‑2 days, then shipping adds 2‑8 days depending on location. Some sites offer expedited shipping for an extra fee. You’ll get a tracking number once the mug ships, so you can watch its journey.
Can I add text as well as a photo on the mug?
Absolutely. Most design tools let you add a short line of text under or beside the photo. Keep it under 20 characters for the best fit. Choose a clear font and high contrast so the text stays readable after printing.
What if the photo looks blurry after printing?
If the print is blurry, the source file was likely low‑resolution. Use a photo that’s at least 1500 × 1500 pixels. Re‑upload a sharper version, and most sellers will re‑print for free if you catch the issue within a few days of delivery.
Leave a comment
This site is protected by hCaptcha and the hCaptcha Privacy Policy and Terms of Service apply.