
How to Create a Graduation Cap Print on Demand Design That Stands Out
Graduation caps can be more than a rite‑of‑passage symbol, they can be a billboard that says who you are.
When you choose a graduation cap print on demand design, think of the story you want to tell. A witty quote, mascot, or simple pattern works best. Keep the layout simple, one strong image or a short line of text beats a cluttered collage.
Here’s a three‑step plan. First, sketch your idea on paper or a free app. Second, pick a high‑contrast palette – dark caps need light fonts, light caps need dark fonts. Third, upload the file to a POD service and choose a cap that fits your budget.
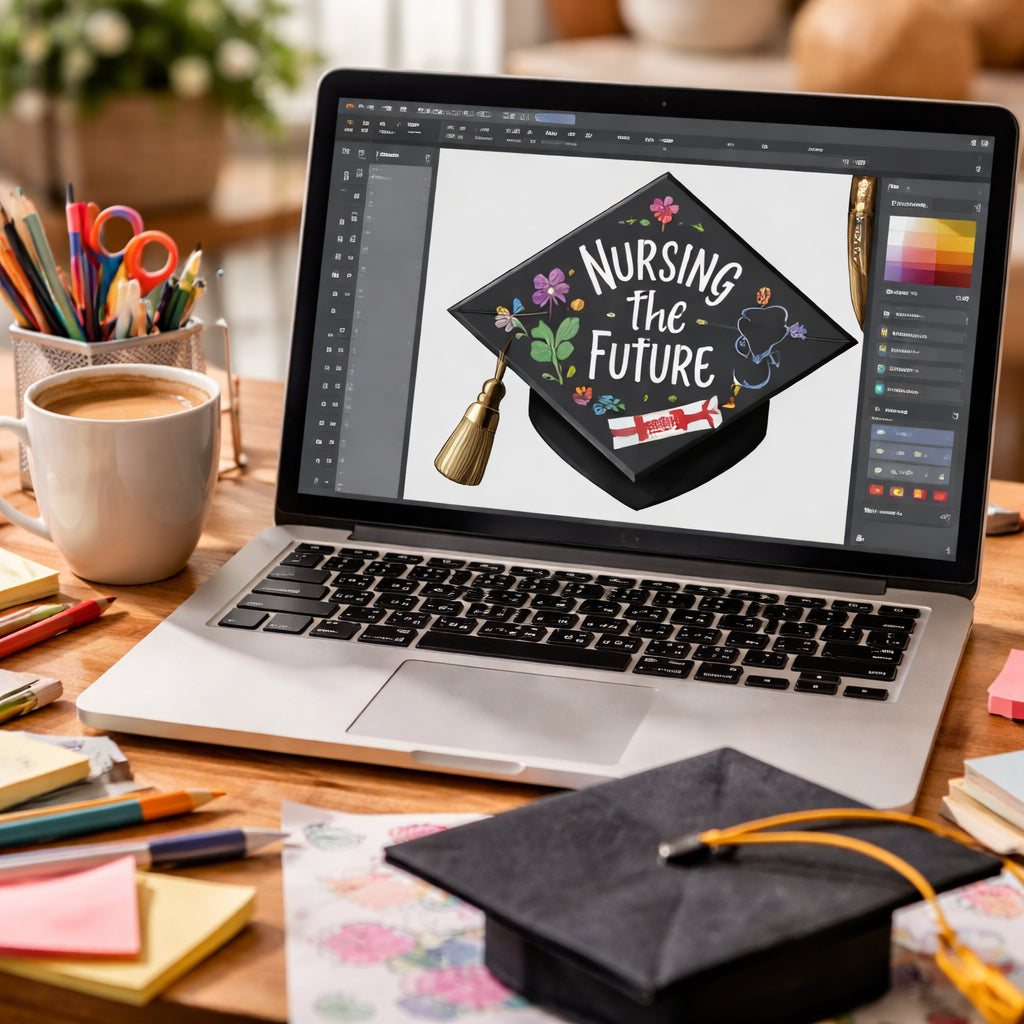
Imagine a mom who adds a tiny doodle of her child’s hobby – a music note or a soccer ball above the tassel. A dad might pick a bold varsity font with the year and name. Teachers love caps with a chalk‑board texture and a witty “Class of 2026 – taught & survived.” Nurses often choose pastel shades with a simple heartbeat line to honor their work.
Need design inspiration? Check out How to Create and Sell a Print on Demand Funny Coffee Mug for tips on balancing humor and readability, which works the same for caps.
TeninoVentures makes printing easy, they handle fabric, ink, and ship to you, so you can focus on design, not logistics.
Start sketching today, follow the three steps, and you’ll have a graduation cap that truly stands out when the tassel moves.
Step 1: Choose the Right Design Software
Picking the right tool is the first real hurdle. You want something that lets you move from a quick sketch to a printable file without a steep learning curve.
If you’re a mom juggling school runs, a drag‑and‑drop app on your phone works fine. If you’re a dad who likes fine control, a desktop vector program gives you that precision.
Most designers start with free options like Canva or Inkscape. They both let you set the exact dimensions of a graduation cap and export a high‑resolution PNG or PDF.
When you’re ready for more features, look for software that supports CMYK colour. That way the colors you see on screen match the ink on the cap.
After you’ve settled on a program, save your design as a print‑ready file. Keep the background transparent if you only need a logo or a short phrase.
One quick tip: create a separate layer for any text. That makes it easy to tweak the size or colour later without messing up the artwork.
Now you’ve got a file that any print‑on‑demand service can use. From here you can move on to choosing the cap style and colour that fits your story.

Step 2: Create a High‑Resolution Cap Template
Now that you’ve got your idea sketched, it’s time to turn it into a print‑ready file.
Start a new canvas at 300 dpi. That number keeps the image sharp when it lands on the cap’s fabric.
Set the colour mode to CMYK. RGB looks fine on screen, but CMYK tells the printer what inks to use.
Choose the exact dimensions the POD service recommends, usually about 12 in × 12 in for a standard square cap layout. If the provider gives a different size, match it.
Draw or paste your artwork onto the canvas. Keep every element on its own layer so you can tweak colour or placement later.
Remember to leave a safe zone around the edges. A one‑inch margin stops text or icons from getting cut off by the stitching.
When you’re happy with the placement, turn off the background layer or delete it. You want a transparent PNG so the cap’s colour shows through.
Export the file as a PNG with “transparent background” checked. Double‑check the file size, most POD platforms accept up to 25 MB.
Tip: before you hit export, zoom in to 100 % and look for any stray pixels or blurry edges. Fix them now; they’re hard to clean up after printing.
Need more design inspiration? Take a look at TeninoVentures’ guide on creating funny coffee mug prints, the same principles apply to caps.
Finally, name the file clearly, like “grad‑cap‑2026‑mom‑logo.png”, and save it in a folder you’ll remember. You’ll thank yourself when you upload later.
Before you hit the upload button, preview the design in the POD mock‑up tool. Look at how the image wraps around the front and back panels. If any part sits too close to the seam, pull it back a little and re‑export.
Step 3: Design Your Graduation Cap Artwork
Now you’re ready to bring your idea to life on the cap. You’ve already set up the canvas and saved a clean PNG, so it’s time to think about the details that make the design pop.
First, keep the message short. A single line or a tiny icon works better than a crowded scene. Moms love a sweet doodle, dads often pick a bold varsity font, teachers enjoy a chalk‑board feel, and nurses may add a simple heartbeat line placed just above the seam works well.
Second, check colour contrast. Dark caps need light text, light caps need dark text. If you’re using a photo, make sure the background isn’t too busy. A quick test: view the design on a plain grey screen – if you can read it from a few feet away, you’re good.
Third, add a personal touch. Think about where the tassel sits and leave a clear space so nothing gets hidden. A small heart, a tiny star, or the year “2026” placed just above the seam works well.
Need more layout ideas? The practical design guide for creators shows how to balance icons and text without clutter.
Finally, run a quick sanity check. Zoom to 100 %, look for stray pixels, and make sure the image stays within the safe zone. Then export a new PNG and you’re set to upload.
| Design Element | Tip | Common Mistake |
|---|---|---|
| Text | Use a short, high‑contrast phrase | Too many words or low contrast |
| Image | Keep it simple, 300 dpi, within safe zone | Pixelated or too close to edge |
| Placement | Leave space for tassel and seam | Covering the seam |
That’s it. You’ve got a graduation cap design that’s ready to print, and you’ll feel proud when the tassel flips.
Step 4: Optimize the File for Print‑On‑Demand Platforms
Now the design is ready, but a POD service will only print what it can read.
First, save the file as a PNG with a transparent background. Some platforms also accept PDF or high‑quality JPG, but PNG keeps the edges crisp and lets the cap colour show through.
Second, keep the resolution at 300 dpi and use the CMYK colour profile. RGB may look bright on screen, but CMYK tells the printer the exact inks to mix. If your file is lower than 300 dpi, the print will look fuzzy.
Tip: open the PNG in a colour‑proofing app and view it in CMYK mode. If the shades shift, tweak the colours before you export.
Third, add a 0.125‑inch bleed around every edge and mark a safe zone at least one inch from the seam and tassel. Anything inside the bleed will be trimmed off, and anything inside the safe zone stays fully visible.
Fourth, watch the file size. Most POD sites cap uploads at 25 MB. If your PNG is bigger, compress it with a free tool like TinyPNG or use an online optimizer, just make sure you don’t lose detail.
Fifth, give the file a clear name. A pattern like grad‑cap‑2026‑mom‑logo.png helps you find it fast when you have many designs. Put all your cap files in one folder so you can upload them in a batch.
Finally, run a quick preview in the platform’s mock‑up tool. Zoom to 100 %, check for stray pixels, and confirm the design stays inside the safe zone. When everything looks good, hit upload.
Need a quick checklist for POD files? our travel‑mug guide walks through the same steps and works just as well for caps.
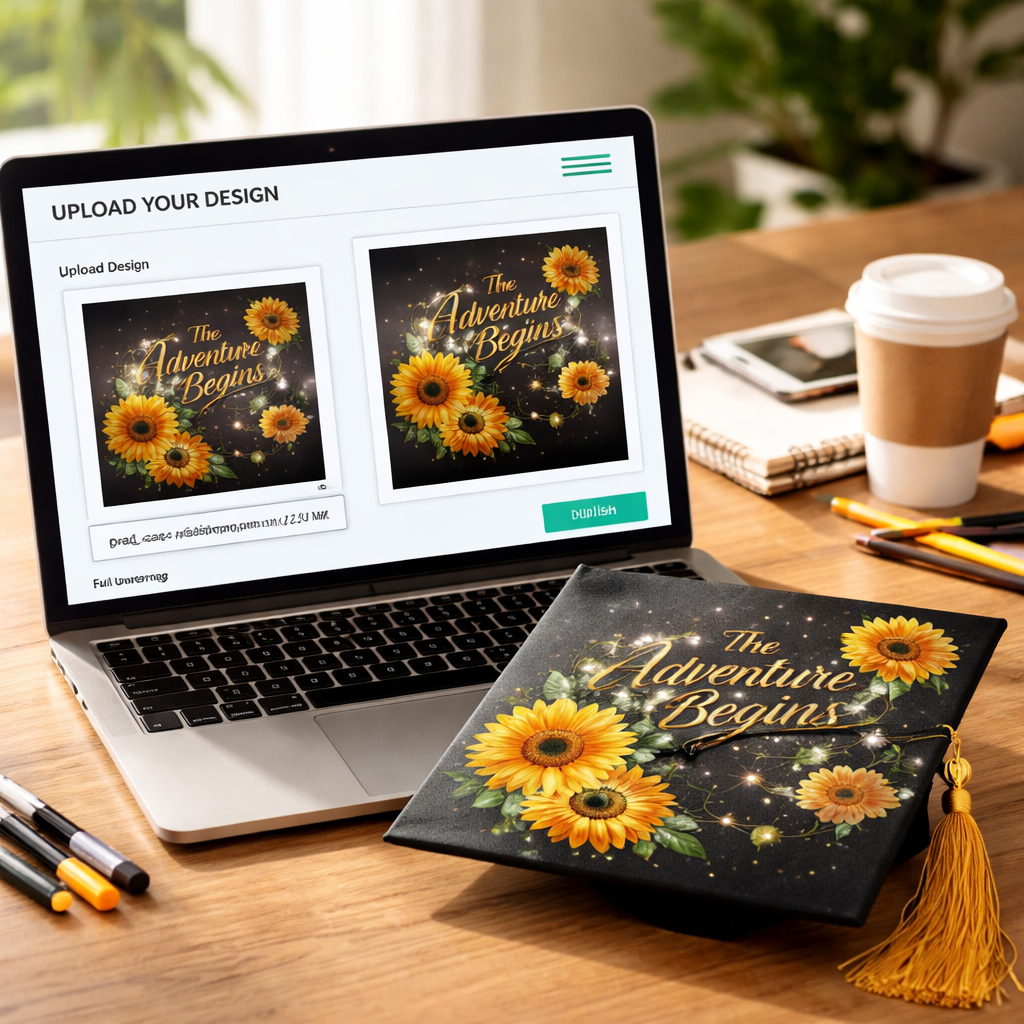
Step 5: Upload, Order Samples, and Market Your Design
Now the file is ready, it’s time to push it live. Open the POD platform, find the “upload” button, and drop your PNG in. The system will usually show a quick mock‑up – zoom to 100 % and make sure nothing slipped outside the safe zone.
Next, order a physical sample. Seeing the cap in your hands tells you if the colours pop and if the design sits right above the tassel. A mom might notice the tiny doodle looks fuzzy, a dad may see the varsity font is too thin. Either way you can fix it before the whole batch ships.
So, how do you fix a problem you spot? Go back to your editor, adjust the layer, re‑export, and re‑upload. Most platforms let you replace the file without opening a new product.
Market your cap
Once the sample looks good, snap a few photos. Use natural light, hold the cap at an angle that shows the front and the back. Add a short caption that tells a story – “Class of 2026, Mom’s secret note” for example. A mom might use #grad2026, #momlife, #teachergift work well for moms and teachers. A nurse might add #nurseproud. Tag the platform if they have a “feature your design” program – it can drive extra traffic.
And if you want a quick guide on how to write copy that sells, check out this custom floral mug print on demand guide. The tips apply to any POD product, caps included.
Finally, set a modest launch price, watch the first orders roll in, and keep an eye on feedback. Adjust colours or wording for the next batch based on what buyers say.
Conclusion
You've walked through every step to turn a simple idea into a graduation cap print on demand design that feels personal.
Start with a clear sketch, pick a high‑contrast palette, and save a 300 DPI PNG. Upload it to a POD service and order a sample. A quick check under natural light will tell you if the tiny doodle or bold year stamp reads well.
Show the finished cap in a bright photo, tell a short story, and share it with a hashtag. Moms love the tiny music note, dads gravitate to a strong year stamp, teachers enjoy a witty line, and nurses appreciate a subtle heartbeat.
Now it's time to hit upload, run that promo, and watch the caps ship out. Need a hassle‑free platform? TeninoVentures handles the printing so you can focus on the design.
Ready to make your class stand out? Take the first step today.
FAQ
How do I pick the right file format for a graduation cap print on demand design?
Most POD services accept PNG or SVG. PNG keeps the picture sharp, especially for photos or detailed doodles. SVG works well for simple shapes and lets you resize without losing quality. If you plan to add tiny icons, PNG is a safe bet. Just make sure the file is saved in RGB mode so the colours match what you see on screen.
What resolution should my cap artwork be?
Set your canvas to 300 DPI. That gives you enough pixels for a clean print on the 12 in × 8 in printable area of most caps. A 3600 × 2400 px file at 300 DPI will keep lines crisp and text readable even from a few feet away. Anything lower can look blurry once it’s printed.
How can I make sure my colours look right on the final cap?
Work in RGB while you design, because the POD printer will convert the file for you. Test your palette by placing the colour on a white screen – if you can read it without squinting, it will likely pop on fabric. Dark caps need light colours and light caps need dark colours. A quick check under natural light can save you a re‑print.
Do I need to worry about bleed and safe zones?
Yes. Add a 0.125‑in bleed around the edge so the printer can trim without cutting off part of your design. Keep any text or tiny graphics at least 0.25 in inside that edge – that’s the safe zone. This prevents letters or tiny symbols from disappearing at the trim line and keeps the overall look tidy.
Can I order a sample before I start selling?
Ordering a single sample is a smart move. When it arrives, hold it under a lamp and check the colour match, the sharpness of any tiny icons, and the placement of text. If something looks off, go back to your file, tweak the size or colour, and upload again. A good sample saves you money and bad reviews later.
What are common mistakes to avoid with graduation cap designs?
First, cramming too many elements onto a small space – caps read best with one strong image or a short line. Second, using low‑resolution files; they end up fuzzy. Third, forgetting the bleed or safe zone, which can cut off parts of the design. Fourth, ignoring contrast – light text on a light cap is hard to read. Fix these and your cap will stand out.

Leave a comment
This site is protected by hCaptcha and the hCaptcha Privacy Policy and Terms of Service apply.