
How to Create Custom Canvas Art Print on Demand That Sells
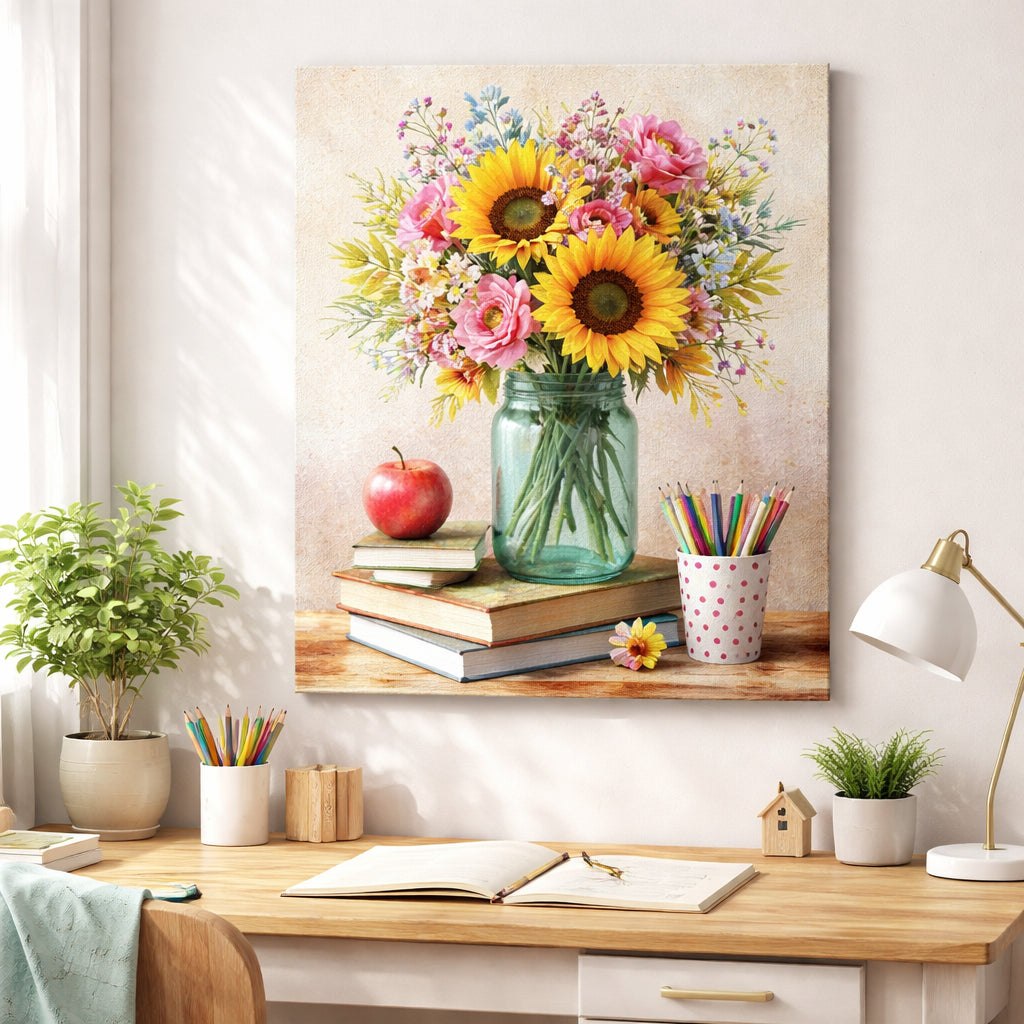
Picture this: you’ve designed a family photo to become a custom canvas art print on demand, and you’re ready to hang it. Seeing your memory stretched across a wall feels amazing.
But the steps can feel fuzzy. You need file size, a POD platform, and a clear view of the final art. A checklist: use a high‑res JPEG or PNG, pick a canvas size that fits, order a sample.
Moms can turn a kid’s doodle into a vibrant canvas that lasts years. Teachers might gift a class photo, and nurses can add a calming scene to break rooms. Small wins like these make any wall feel personal.
A first step is to upload your image to TeninoVentures’ POD tool, pick a frame, and preview it in a room mock‑up. For design tips, see How to Create and Sell a Print on Demand Funny Coffee Mug.
When you’re happy, order a test piece. Seeing the texture lets you set a price for moms or dads, list it on Etsy and watch orders roll in.
Need help hanging the new canvas? Check out How to Display Coastal Wood Flower Art in Your Living Room for tips that work with any décor.
Choosing the Right Canvas Material and Print Quality
When you pick a canvas, the look and feel start with the material. A cotton‑blend gives a soft, matte vibe that works great for family photos. A polyester weave adds a slight sheen and can hold bright colours a bit longer. Think about where the piece will hang – a living room with bright light may need a matte finish to keep glare low.
Know Your Fabric
Cotton is breathable and easy to stretch, so it won’t crack when you roll it for shipping. Polyester is tougher and resists moisture, which can help in humid kitchens or bathrooms. Some POD services even offer a blended option that gives you the best of both worlds – soft touch with extra durability.
Print Quality Matters
Look for a printer that uses UV‑resistant inks. Those inks stay vivid for years, even if sunlight sneaks in. Aim for at least 300 dpi on your source file; that way the canvas won’t look pixelated up close. Many platforms let you preview the ink density, so you can see if the reds stay bright or turn dull.
Before you order a full batch, order a single test piece. Hold it up, walk around the room, and see how the texture feels under your hand. A quick check now saves a lot of hassle later.
While you’re testing, think about the surface you’ll hang it on. A smooth wall lets the canvas sit flat, but a textured brick can add character if you use a sturdy frame.
For a deeper look at how material choice ties into the overall vibe of a room, check out Property Copilot’s guide to home décor basics. It breaks down how light and texture work together, which is handy when you decide between matte and glossy.
And if you’re curious about matching your canvas to the floor underneath, Millena Flooring’s tips on flooring finishes can help you pick a colour that ties everything together without clashing.

Designing Your Artwork for Print‑on‑Demand Success
First thing you need to know: a design that looks great on screen can flop on a canvas if the file isn’t set up right.
Start with the right size. Most POD services ask for at least 300 dpi, but for a canvas you’ll get the best result when you upload a file that’s 150 dpi at the final print size. That means you create the image at double the dimensions you plan to sell. A 16 × 20‑inch canvas needs a 3200 × 4000‑pixel file.
What about colour? Use RGB when you work in Photoshop or GIMP, then let the POD platform convert to the printer’s colour profile. If you want exact shades, check if the provider lets you upload a CMYK‑converted file.
Keep important details away from the edges. A 2‑inch bleed zone gives the printer room to trim without cutting off a kid’s drawing or a teacher’s quote.
Fonts can be tricky. Stick to web‑safe or outline the text so the printer can’t lose a character during conversion. A simple sans‑serif works well for moms who want a clean look on a nursery wall.
Now think about file format. PNG keeps transparency if you need a cut‑out shape, while JPEG gives a smaller file size for big photos. Both are accepted by most POD sites.
Here’s a quick checklist you can copy‑paste into a note:
- File size: double final dimensions
- Resolution: 150 dpi at final size (300 dpi source)
- Colour mode: RGB, optional CMYK preview
- Bleed: 2‑inch margin
- Fonts: outline or web‑safe
- Format: PNG for transparency, JPEG for photos
Does any of that feel like a lot? Imagine you’re making a canvas of your child’s first drawing. You snap a photo, open it, double the size, add a 2‑inch border, and hit save. In minutes you have a print‑ready file.
One practical tip: use the built‑in mock‑up tool on TeninoVentures to see how your art will look on a wall before you order a sample. It saves time and avoids surprise‑revisions.
Need more design advice? Check out our design tips for print‑on‑demand products. They walk you through layout basics that apply to canvas, mugs, and more.
| Design Element | Recommendation | Why It Matters |
|---|---|---|
| Image size | Double final dimensions | Ensures sharp print at 150 dpi |
| Bleed area | 2 inches around edges | Prevents cropping of important parts |
| Font handling | Outline or use web‑safe fonts | Avoids missing letters after conversion |
Setting Up and Managing Your Print‑on‑Demand Store
Getting your custom canvas art print on demand store live is easier than you think. You just need a clear plan and a few tools.
First, pick a POD platform that handles canvas prints, ships worldwide, and lets you set your own prices. TeninoVentures offers a simple dashboard where you can upload art, choose a frame style, and see a live preview. That alone saves hours of back‑and‑forth with suppliers.
Step 1 – Create your product list
Make a spreadsheet with each canvas size, frame option, and base cost. Add a column for your selling price and another for the profit you want. Moms love a ready‑to‑hang piece for a nursery, while teachers often look for larger formats for classroom walls. Having the numbers in front of you stops surprise fees later.
Step 2 – Set up your shop front
Use Etsy, your own site, or a simple shop page that lets you show high‑quality mock‑ups. Upload the mock‑up images you made earlier, write a short title that includes “custom canvas art print on demand”, and add a few bullet points about the material and size.
Step 3 – Configure shipping
Most POD services let you pick flat‑rate or calculated shipping. Test a few orders to see how long delivery takes. If you notice delays, you can add a note like “Ships in 5‑7 business days” so buyers know what to expect.
Step 4 – Launch with a test order
Order one canvas for yourself. Check the colour, edge quality, and how the frame sits. If anything feels off, adjust the bleed or choose a tighter‑weave canvas before you go live.
After the test, turn on your listings and share the link on social media. A quick post that shows a mom hanging the new canvas in a playroom can spark interest. You can also run a small promo for the first ten buyers to collect early reviews.
Need more POD ideas? Check out TeninoVentures’ guide on other POD product ideas for inspiration beyond canvas.
Finally, keep an eye on inventory and reviews. If a certain size sells out fast, raise the price a bit or add a new colour option. Regular tweaks keep your store fresh and your profit steady.
Shipping, Fulfilment, and Customer Experience
Getting a custom canvas art print on demand into a buyer’s hands the right way can be the difference between a five‑star review and a return.
Pick the right shipping style
Most POD platforms let you choose flat‑rate or calculated shipping. Flat‑rate is simple – you set one price and stick to it. Calculated rates change with weight and distance, which can keep costs fair for bigger orders. Test a few orders yourself to see which feels smoother for your price point.
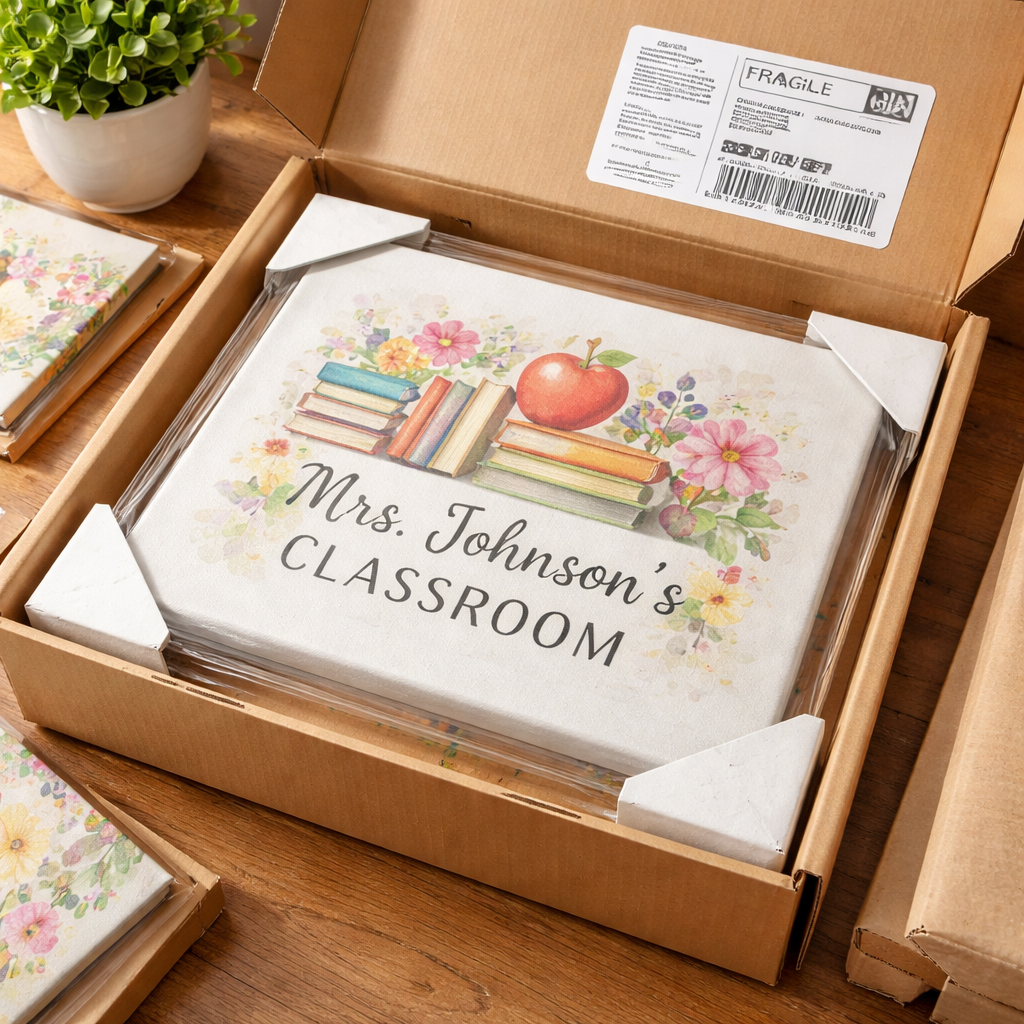
Package it so it arrives safe
A canvas can bend or get a dent if it’s tossed around. Use a sturdy cardboard tube or a reinforced box with a snug inner wrap. Add a thin cardboard edge protector if the frame is thin. A quick check: shake the box gently. If you hear any movement, add more filler.
Keep buyers in the loop
People love to know where their order is. Send an email as soon as you print the canvas, then another with a tracking link once it’s in the carrier’s system. A short note like “Your canvas will arrive in 5‑7 business days” reduces anxiety. If you ever see a delay, a quick apology and updated ETA can turn a complaint into a compliment. For more ideas on handling orders, check out TeninoVentures’ guide on fulfilment tips for POD sellers.
Returns and feedback are learning tools
Set a clear return window, seven to fourteen days works for most canvas prints. If a buyer sends a canvas back because of a crease, inspect the packaging you used and tighten it up. Ask the customer what went wrong. Their reply often points to a simple fix, like using a thicker sleeve.
Finally, turn every order into a chance to improve. After each delivery, ask for a quick rating or a photo of the canvas on the wall. Those real‑world snaps become social proof for the next mom scrolling through your shop.
Take these steps, and you’ll give buyers a smooth, worry‑free experience that makes them want to order another piece for the next birthday, classroom, or night shift break.
A happy buyer often becomes a repeat customer and spreads the word.
FAQ
What is a custom canvas art print on demand and how does it work?
A custom canvas art print on demand is a service that prints your image on a stretched canvas only when someone buys it. You upload a picture, pick a size and edge, and the POD partner prints, packs and ships it straight to the buyer. This means you never keep inventory, and each piece is made just for the person who ordered it.
How long does it take to receive a custom canvas after I order?
Most POD partners aim for 3‑5 business days to print and pack, then add the carrier’s transit time. In practice you’ll see a canvas at your door in about a week if you’re in the same country, a bit longer for overseas orders. You can speed things up by choosing an express option if the platform offers it.
Can I order a single canvas or do I need to buy in bulk?
You can order just one piece. The whole point of on‑demand printing is to avoid bulk commitments. Buying a single canvas lets you test colour, texture and size before you list it for sale. If you later need a larger run, most providers let you place a bulk order with a small discount.
What file format and resolution should I use for the best print?
Upload a high‑res PNG or JPEG. Aim for at least 300 dpi and a pixel size of around 4500 × 5400 px for larger canvases. PNG works best if you need transparency; JPEG is fine for full‑color photos. Keep the colour mode in RGB until the file leaves your computer, then the printer will convert it as needed.
How do I make sure the colours look the same as on my screen?
First, view your image on a calibrated monitor. Then export the file in the colour profile the POD service recommends—usually sRGB. If you can, order a test print. Compare the sample to your screen and tweak contrast or saturation if it looks dull. Most providers use UV‑protected inks that keep colours vivid over time.
What should I do if the canvas arrives damaged or the print looks off?
Contact the seller right away and share photos of the problem. Most POD partners have a return or replacement policy for shipping damage or colour issues. Keep the packaging until you hear back; it helps the carrier see what went wrong. A quick fix can turn a bad experience into a happy review.
Conclusion
That’s the whole path from idea to wall. You’ve seen how a simple file can become a custom canvas art print on demand that looks sharp and lasts.
Remember the basics: high‑res PNG or JPEG, 300 dpi, the right bleed, and a trusted POD partner. A quick test print lets you catch colour shifts before you list.
If you’re a mom, think of a family photo that will make the kids grin. If you’re a teacher, picture a bright classroom scene that sparks curiosity. If you’re a nurse, imagine a calming view that eases a night shift.
Take one step now. Upload your design to TeninoVentures, order a sample, and see it in your own space. That tiny move can turn a hobby into a steady side hustle.
So, what’s next? Grab that file, hit “order”, and watch your wall art come to life.
Leave a comment
This site is protected by hCaptcha and the hCaptcha Privacy Policy and Terms of Service apply.